Beyond Layers II
Inspirational thoughts and projects hosted by Kim Klassen
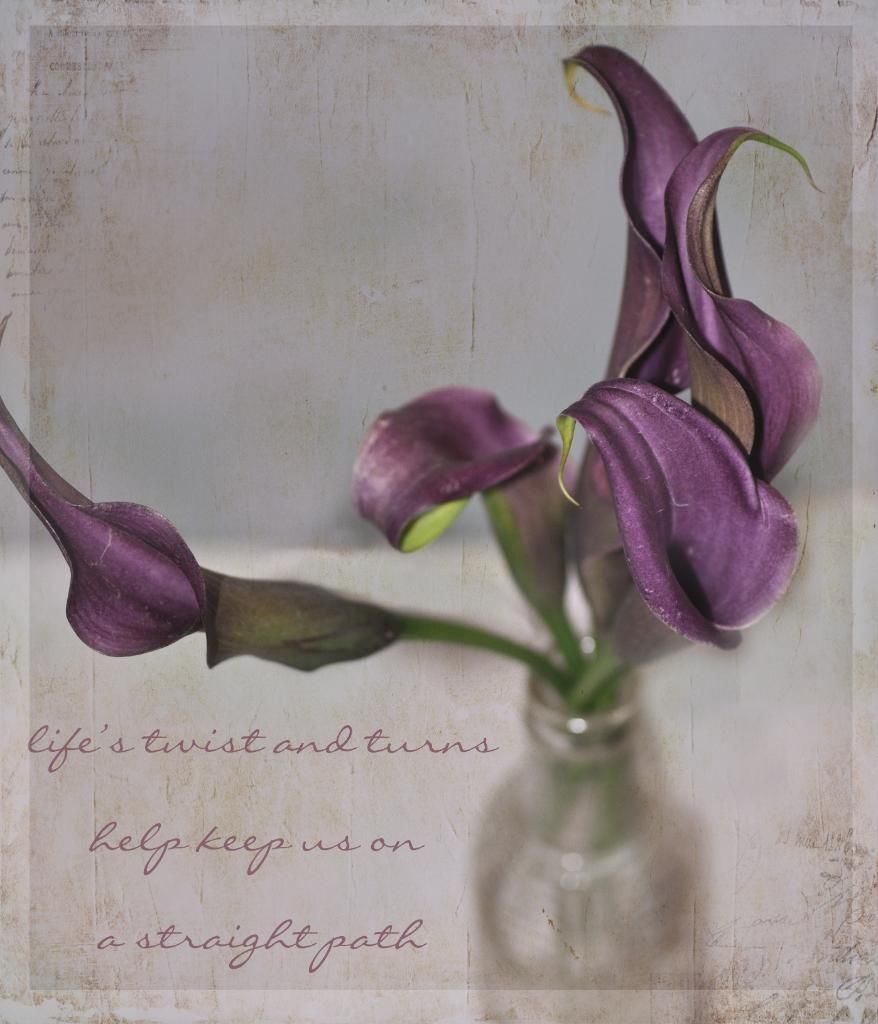
Day 22 ~ Frames It
This was a fun one, learning how to make some very simple frames to off set images. Kim's videos showed the process of using the crop tool to set your crop at the border of the photo, then dragging it out to the desired framing and letting it fill with the background color that you've set.

She also went over the steps for including a drop shadow with framing.

Adding sublety to borders can be done quite easily by using the rectangular marquee. Set with the desired inside border then choose the inverse tool. Click on inner border and feather. Then choose solid color adjustment layer and pick your color for the border. This can be adjusted from quite visible to just a blush of color by changing the opacity. Levels adjustment can also be used to higher or lower the impact of the border.

I decided to put it all together in side a frame with the original image as well as the edited versions with frames. I included one of Kim's textures as the background for the images, then framed the whole image using the extened crop with background color and drop shadow.

I'm also posting a few of the other images that I utlized the framing options on .


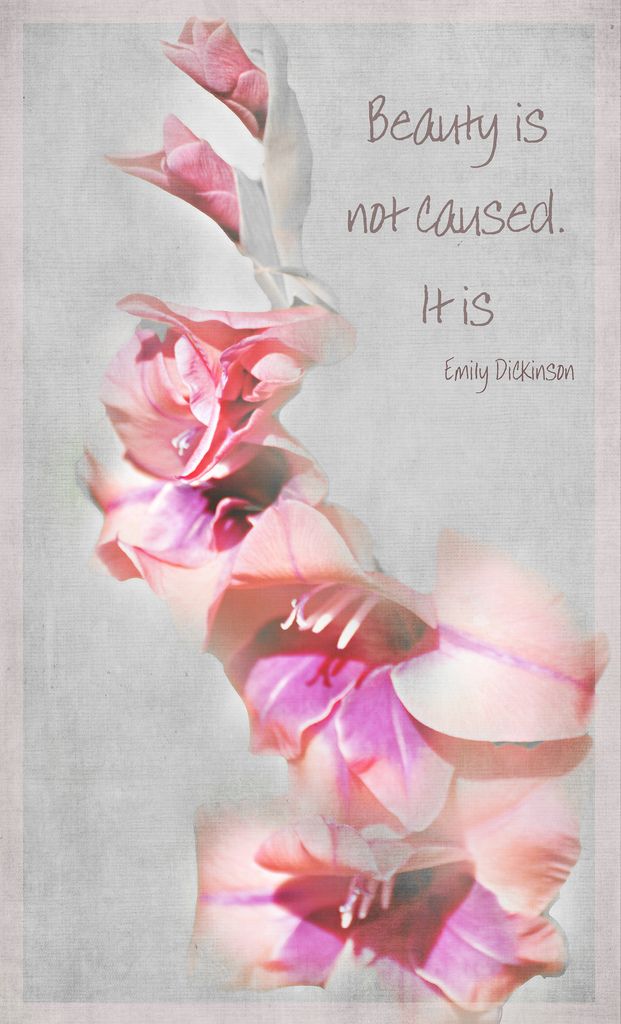
Day 24 ~ Pastel for Vintage effects

I struggled a bit with this lesson, whether it was my choice of flower or the color overlays I don't really know, however, these two images are what I came up with. The gladiola below started with a heavy background (mouse over for before image) which I lightened with a fill tool to a very light tone I picked out of the picture. After applying Kim's processes I finsihed with several layers of the texture at different blends and opacities. The pastel process is definitely one to work with again when I have time. I'm already thinking about a soft colored dahlia from the garden that should work well for the process!
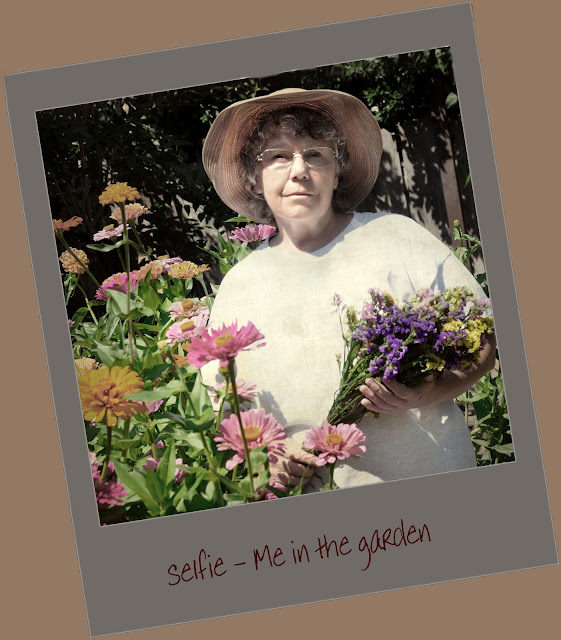
Day 26 - You are already amazing
Kim spoke about how uneasy she felt having her picture taken and how many of us feel the same way. She encouraged us to step outside our shell and take a selfie. Many of us dwell on what we see as our dificiencies when having our photo taken. Age and weight our two factors many of us see as a conscience reason to not want to have our picture taken. An inability to relax in front of the camera lens is a common thread.
This was educational for me once I decided to take a selfie. I had no idea how the auto timer worked on my camera. After consulting the manual and reading what I thought were the instructions, I was no further along. I finally went on line and watched a Youtube video on setting the self timer on a Nikon D90. Mystery solved.
The next step was where to take it. . . . .well, the garden of course! I got out my tripod, took a few test runs and here you have it, with a bit of editing glasses shadows, desaturating some of the more intense colors and being a bit creative with the framing. I wanted a 'snap shot' look so--here you have it!
And the words I posted with the photo in the Beyond Layers II Group:
Day 25 ~ Now You
Here's my selfie! My time away from work this time of year is spent in the garden so thought this was perhaps the most appropriate place to take my photo. I'm another who does not feel comfortable in front of the lens. I could blame it on my weight, age and peppered gray hair, and my reluctance to relax enough to smile; however, back in the day when I was slim and my hair was a youthful brown, I still was reluctant to smile and relax when having my picture taken. So, here I am , with some of my closest friends--and once that shutter snapped, I smiled--a little too late!
No comments:
Post a Comment